I was fortunate enough to purchase my childhood home. Although I adore the nostalgia of it, the truth is, it needs to be brought up to date. We are slowly but surely working on DIY projects in preparation for more serious professional renovations.
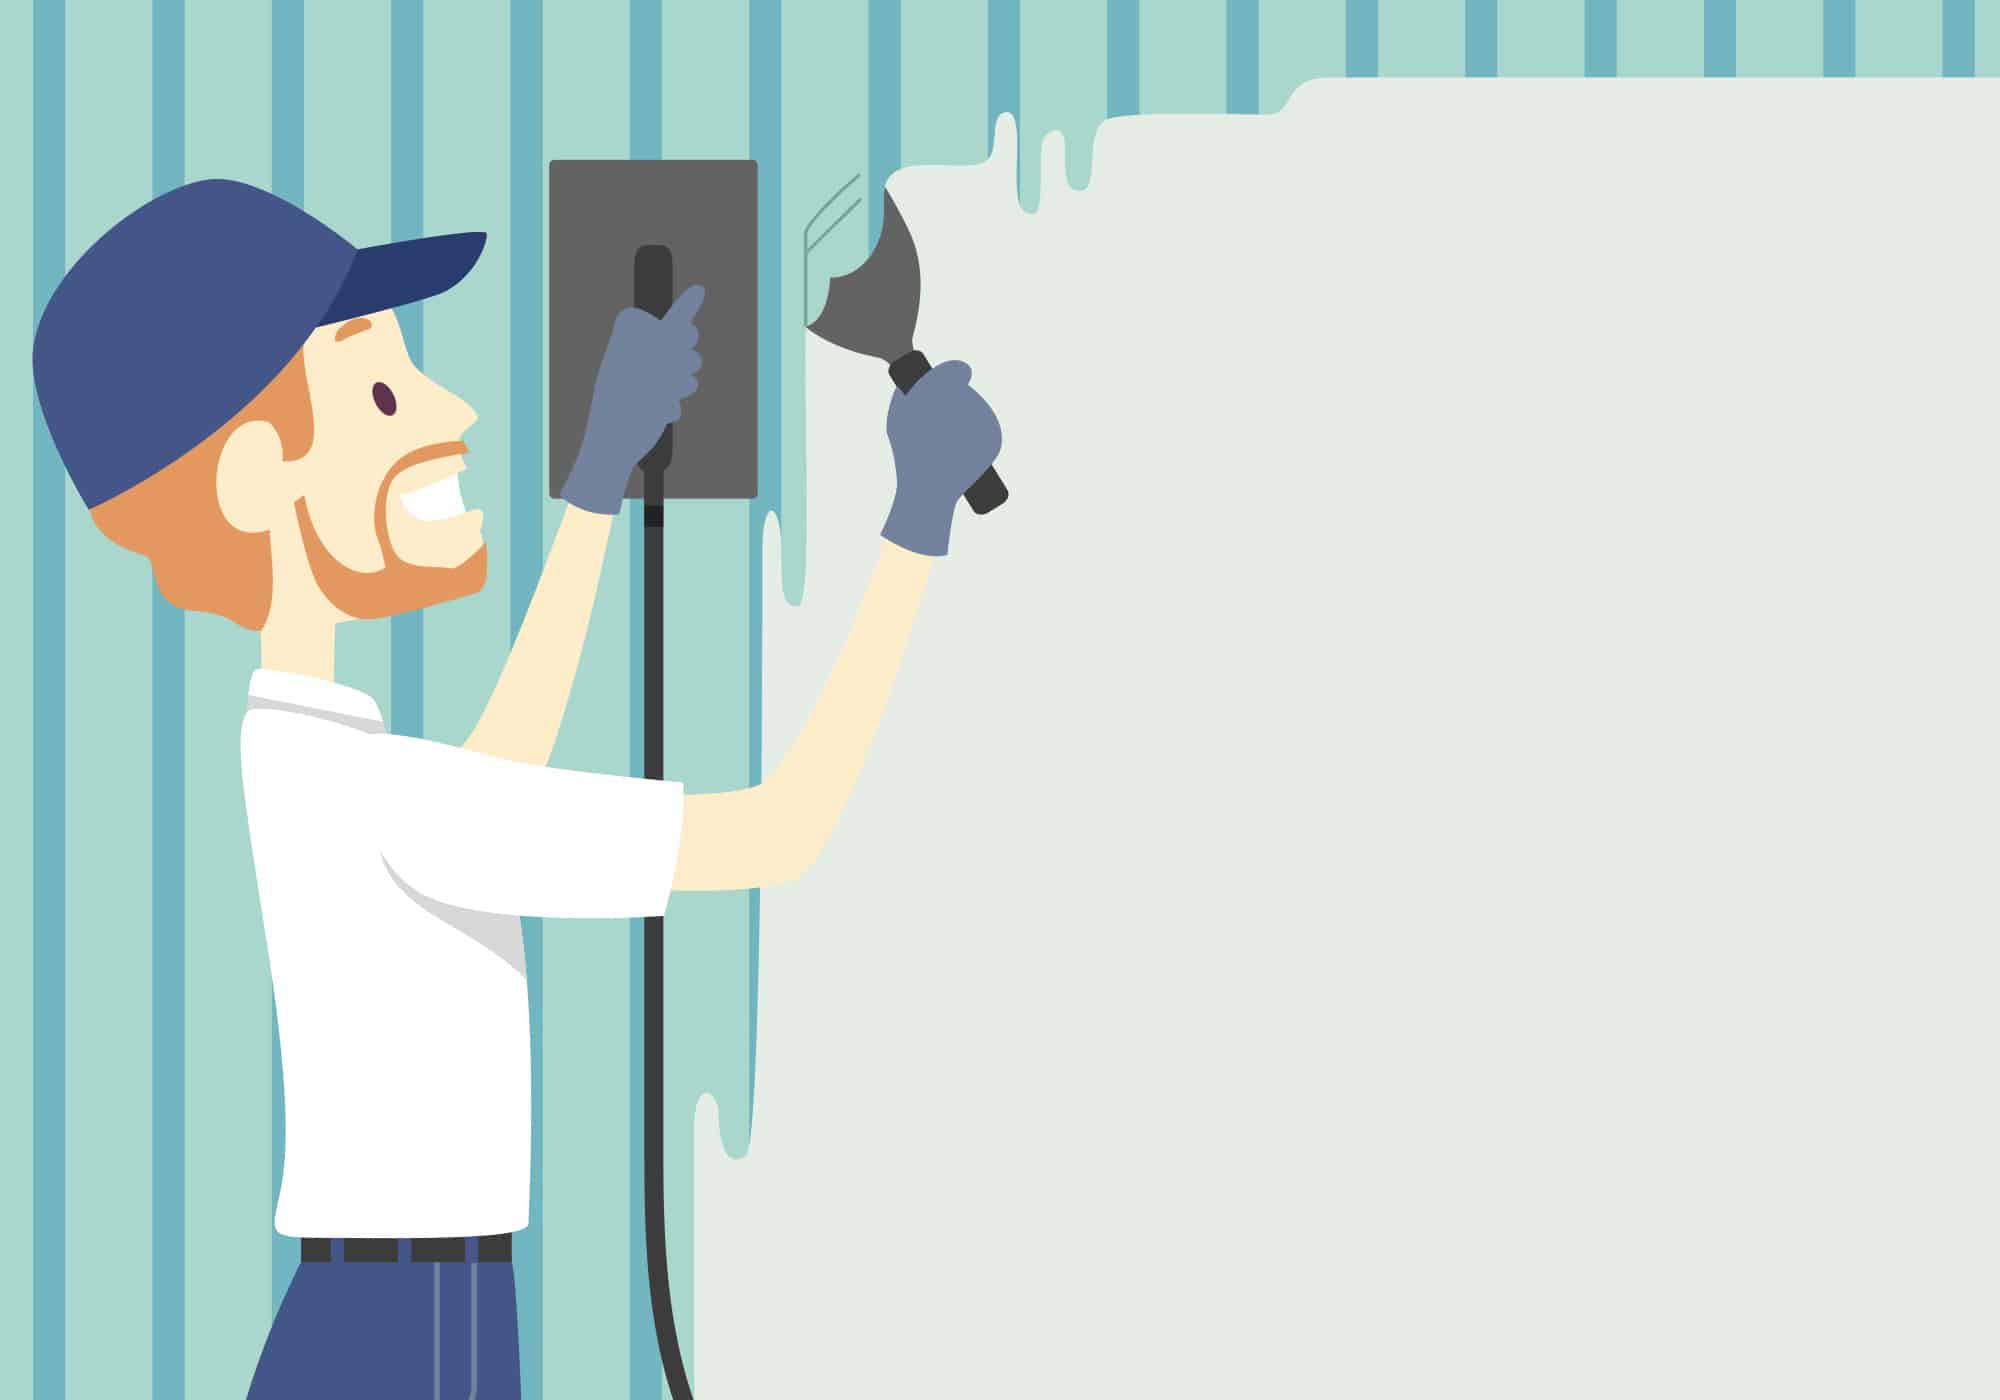
One of my priority projects is converting an upstairs room into a home office. The last few days have taught me the easiest and most effective means of wallpaper removal requires a can of gasoline and a match. Sadly, my insurance agent did not approve of this method so to Google my husband and I went. Here are the lessons we learned from plans B through L.
She Shoots, She Scores
Get a scoring tool! Razor blades and carpet cutters are not only insufficient and inefficient, they may also cause damage. Who’d have known? (They are particularly damaging when you reach a certain point of frustration, but I digress.) Save yourself the drywall repair and get the tool.
The tool we got came in a kit that included a well-built razor scraper with an arched handle and a roller on one end, which I affectionately refer to as my rollerblade. This is a great tool for the big spots, but you’ll want a few sizes of razor tools to get into the smaller spaces and corners.
Don’t believe the advice that tells you a spackle blade will work. No. They’re too wimpy. Go for the big guns. But be safe! Make sure they’re in a secure holder of some kind. If you don’t believe me, ask my thumb.
Steamwork Makes the Dream Work
The kit also came with a chemical to mix with water. Not being a fan of chemicals, we tried the home remedies first. The best trick we found? Use hot water and spray small sections at a time after you score. Then let them sit for about 10 minutes or so.
We used a garden sprayer that you’d use for weeds on your sidewalk. Just heat some water in a kettle and top it off to keep it warm.
There were two additions suggested online, fabric softener and vinegar, and I found vinegar more effective. To be clear: I was sponging the softener, not spraying. If spraying overhead, I’d rather be rained on with vinegar.
The last small area we tried the chemical, just for the sake of science. It wasn’t noticeably better, so give the environment a break on that one.
Just a Little Patience
Lastly, don’t expect everything to come off at once. If it’s the “newer” version of wallpaper that has paper backing, it’s a two-step process. Printed part first; paper second.
The good news is the paper doesn’t have to soak as long, so spray that before spraying your next section. Then go back to the paper while that soaks.
To sum it up, follow the three S’s: score, steam, stand by. Happy un-papering!


Leave A Comment
You must be logged in to post a comment.